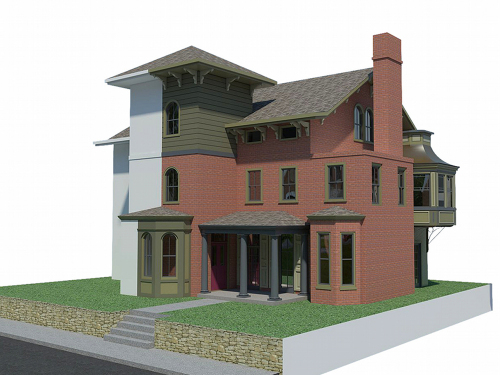
 We recently took on an exciting whole-home renovation for this lovely historic Trinity in Center City Philadelphia. Originally built in the mid-1800s, the house footprint is just over 17’ x 13’. As is typical of this type of 3-story house, the kitchen is located in the basement, making this house four floors of occupied space with overall square footage totaling just under 900 square feet.
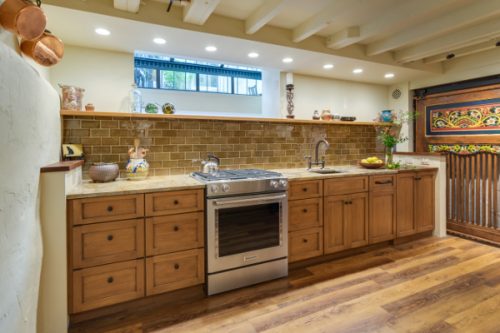
The homeowner felt the former kitchen was cramped, dimly lit, and inefficiently designed, and she was in search of help in bringing her artistic vision for the space to life, blending both old and new elements through an exciting mix of textures and character. High on her priority list was integrating her wonderful collection of objects gathered from her travels around the world.
We brought our design skills and construction experience to the team, working with the homeowner and the designer to develop a host of creative solutions, including the installation of an Indonesian screen (seen at the right in the photo above) as a sliding door covering a newly reconfigured utility area, which includes a new on-demand hot water heater, mounted next to a new full-size and code-compliant 40-position electrical panel with ample room for service and access.
Other Noteworthy Features and Solutions
- New crisp drywall blended with original masonry wall textures and original exposed beams
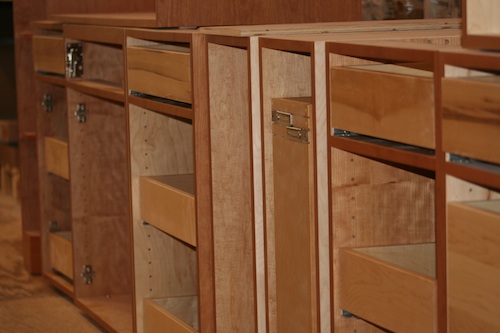
- Custom-glazed adler wood cabinets, beautiful fusion Quartzite and custom cherry counters, and a copper sink were selected for a wonderful interplay of colors, textures, and Old World feel
- Small-space efficiencies designed for real-size humans, including built-ins wherever possible, limited free-standing furniture, and no upper cabinets
- Built-in storage and appliances under the counter (refrigerator, freezer, washer, dryer, and microwave drawer)
- Additional multi-function storage under stairs
- Extensive lighting plan with multiple sources and types of light to make this partially below-grade space feel bright and cheery
- Enlarged window well to bring much more light into the space
- Insulation added to create sound buffer from the floor above
About This Home
Our client purchased this pied-à-terre to create a unique second home that she could retreat to in the city. While located in a very walkable area — close to cultural activities, restaurants, and shopping — it is tucked away inside a shared courtyard with no street access and no legal parking adjacent to the site. The project was a true design build renovation that required extensive planning, with final drawing sets running well over 40 pages. We had regular meetings with our client and the decorator to collaborate on the details to make the finished space appear seamless. The result is a blend of our client’s vision, the decorator’s masterful use of color and texture, and our company’s design and construction experience, expertise, and background in fine arts. We were honored to be the team to execute this complex and unique job.
View the slideshow for this kitchen project.
 We’ve posted slideshows of the completed kitchen and cupola renovation work at our Fairmount neighborhood whole-house project. They’re rather spectacular. Have a look: